Choosing What to Record
In the Recording source section, pick one of four options from the drop-down list.
Full screen
Records the entire primary monitor. There are no extra settings. If you have several monitors and want to record a non-primary one, choose Monitor instead.
Monitor
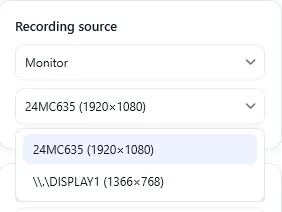
A second drop-down list appears with the connected monitors. Each one is shown with its name and resolution, for example DELL U2419H (1920×1080). Choose the one you want.
Screen region
Records only part of the screen — for example, a browser window together with a side panel, or a section of a presentation.
- Choose Screen region.
- Click Select region....
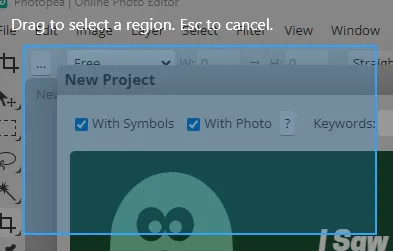
- All monitors are dimmed and the mouse pointer turns into a crosshair.
- Hold down the left mouse button and drag a rectangle around the area you want. Release the button to confirm the selection.
- Press Esc to cancel.
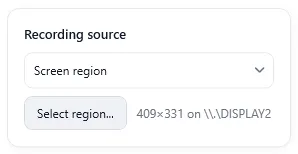
Once a region is selected, its size in pixels and the monitor it is on appear next to the button, for example 1280×720 on \\.\DISPLAY1.
Good to know:
- A region is always within a single monitor — the one you selected it on.
- Simply clicking without dragging (or dragging a very small rectangle) cancels the selection.
- The selected region is remembered and used in future sessions until you select a new one.
- If you click Select region... while another source is selected, the source switches to Screen region automatically after you make a selection.
Application window
Records one specific window — even if other windows partially cover it.
- Choose Application window.
- Pick the window by its title from the list that appears.
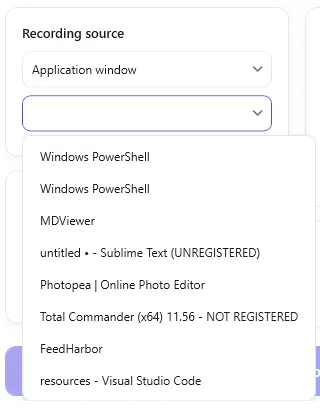
Important. The window list is built when the app starts. If the window you need was opened later, restart Screen Recorder and it will appear in the list.